
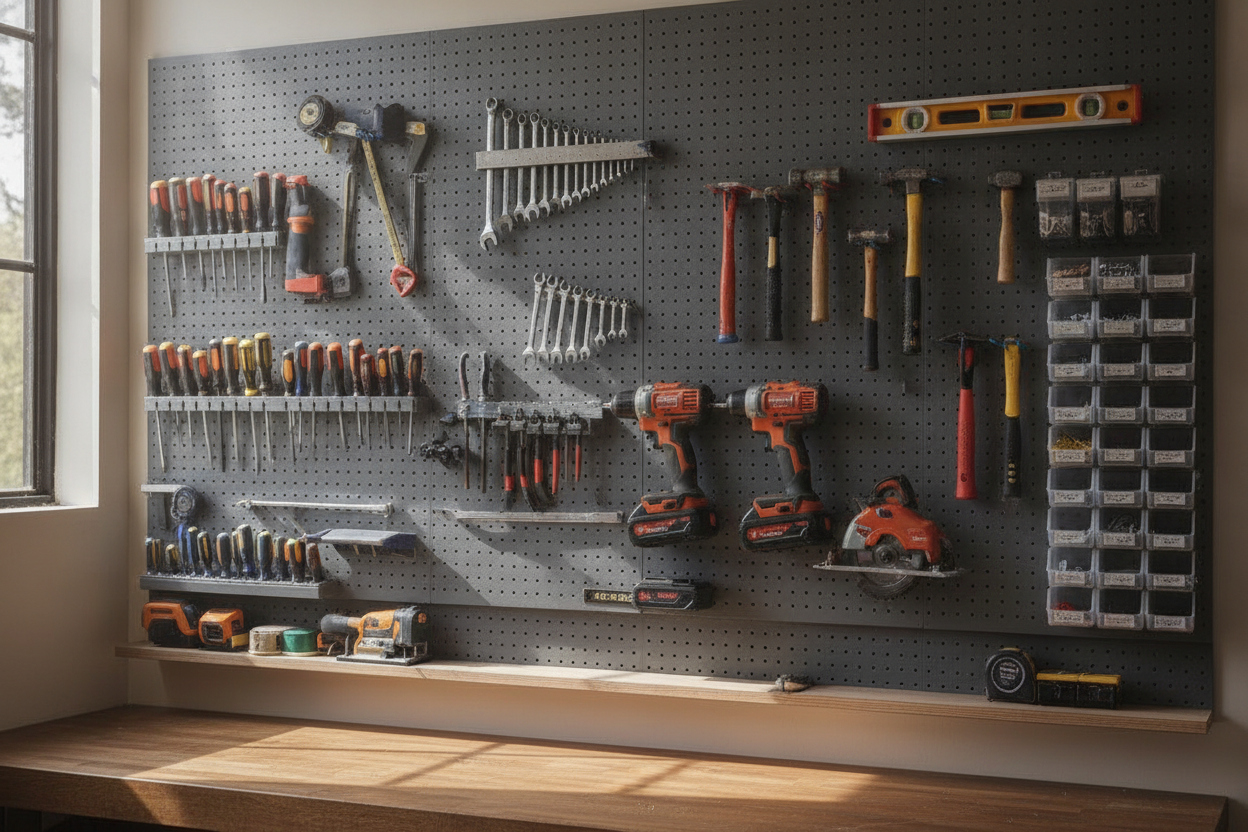
A cluttered workbench slows everything down, so I decided to create a tool storage wall that puts the most-used gear within easy reach. This chaso creation started with a sturdy board, a few brackets, hooks, and fasteners. The goal was simple: make the space more efficient without spending a lot on a full cabinet system.
I measured the wall area, mapped out the placement of each item, and marked where the hooks and holders should go. I wanted the layout to support hand tools, measuring tools, clamps, and a few small containers. After mounting the board securely, I attached the hardware and tested the spacing with my actual tools. That step matters because even a good-looking setup can fail if the tools overlap or the hooks sit too close together.
What I like most about this kind of upgrade is that it immediately improves workflow. Instead of digging through drawers, I can see what I need at a glance and put it back in seconds. It also makes the shop look more intentional, which is motivating when you spend a lot of time creating. A tool wall is one of those projects that feels small but changes the whole room.
I’ll share the links for the board, hooks, anchors, and organizers I used, along with a few alternatives for different budgets. If you enjoy woodworking, repairs, or hobby projects, a storage upgrade like this is one of the smartest ways to make your workspace more productive and enjoyable every day.
Leave a Reply